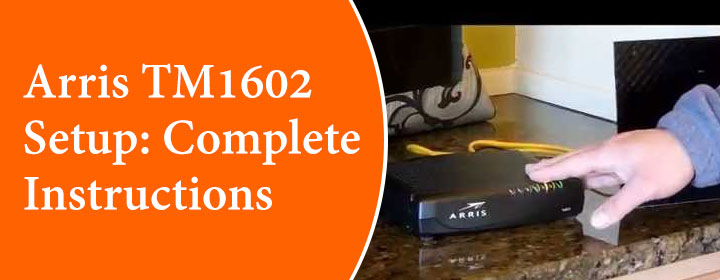
Arris TM1602 Setup: Complete Instructions
The Arris TM1602 setup is simple, straightforward and ideal for home networks. This telephony modem router is one of the networking devices which have a lot of LEDs that indicates the device status. There is more, you will see on the modem router, two LAN ports, one WAN port, Power port, US/DS port, and reset button along with them.
Now, let’s learn how to complete the Arris TM1602 setup in your home, just follow up some instructions.
Arris TM1602 Setup
There are three easy steps which you can follow to setup Your Arris TM1602.
Mount Your Device on Wall
Fix your device on home wall can be hard task, but you can do it. By wall-mounting the device, provide the fix location in house near your ISP and it will not take more space.
- Just drill two holes (perfect majors are 4 inches that is 102mm) on the location near to the ISP socket.
- Drive the screws in to the wall leaving a small gap of about 1/8” (3mm) between the screw heads and wall, if you are using drywall anchors.
- Take the modem and mount it in to the screws to complete the device positioning in your house.
Connect Telephony Modem
Now, it is time to connect the Arris TM1602 in your home physically. You have to the use the Co-axial cable and Ethernet cable to make a connection. Just follow some of the instructions to make a connection;
- Connect the one end of the Co-axial cable to the outlet and connect other end of the cable to the modem connector on the back.
- Now, use the Ethernet cable to connect the modem WAN port (Yellow one) to your computer, router or hub Ethernet/LAN port.
- It is time to connect the modem to power by inserting the power cord to the connector and turn it on.
- After that, you can make the telephone connections, just use the telephone cable and connect it to Tel 1 or Tel 2 ports. Insert other end to your telephone.
Configure Your Arris Device
The configuration is pretty easy, it is not like the Arris router login, but easy like that. There are different ways to configure the device if you have windows and MAC OS;
Windows
- Connect the Ethernet cable to the telephony modem and Windows computer to start the configuration.
- Now, start the computer and select the Start button > Settings > and open the Control Panel.
- Here, you must double click on the Network Connections. You have find and click on the Local Area connections that used for the device network.
- Click on the Properties option and choose the TCP/IP, then again click Properties.
- Select the General option and open the Obtain an IP address automatically. It can also choose like 192.168.0.1. Now, simply OK to accept new IP and adjusted settings.
Mac OS
- Connect the Ethernet cable to the telephony modem and Mac OS to start the configuration.
- Go to the Network icon in the internet device and select the Automatic option on the drop down menu.
- Open the Built-in Ethernet and choose TCP/IP tab and select the Using DHCP from the IPv4 menu.
- Select the Automatically button and click on the OK button to end or finish the Arris TM1602 setup.
The Conclusion
Here, you have seen and learned how to complete the Arris TM1602 setup in home, which is the telephony modem.
